https://www.yes24.com/Product/Goods/117206541
본 내용은 위 서적을 많이 참고했다. 상세한 내용은 해당 링크를 참조 바란다.
컨테이너는 영역을 표기한다. 일종의 레이아웃과 같은 셈이다. 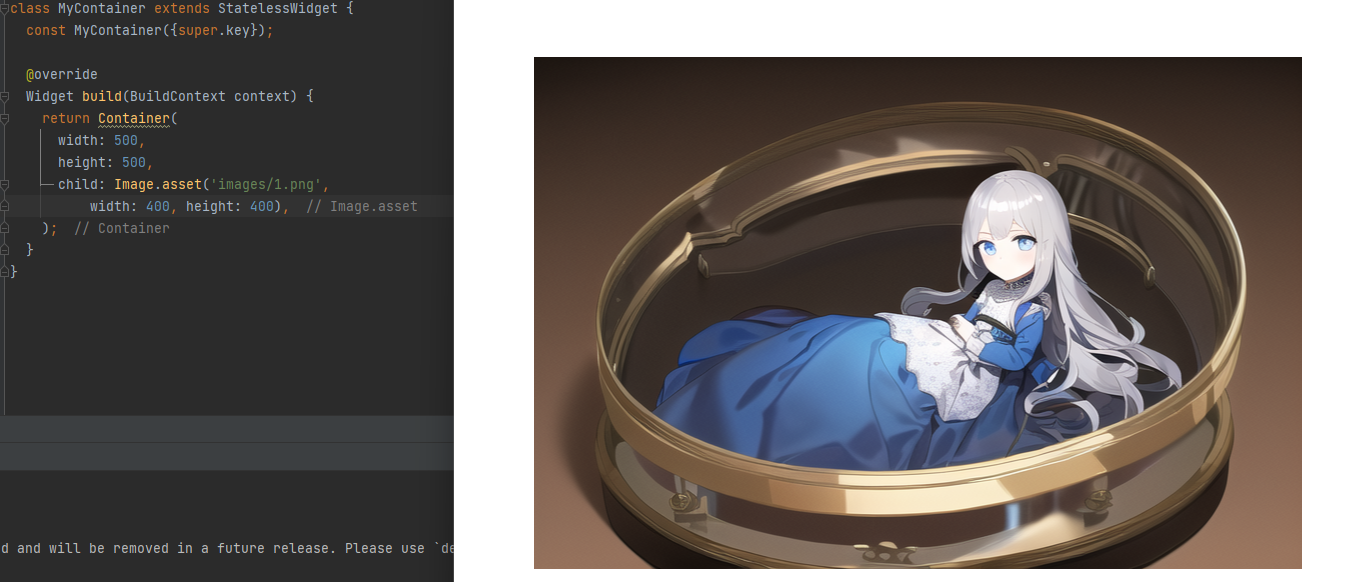
이미지 양쪽 옆의 공백이 보인다면 그건 이미지가 정상적으로 출력되고 있다는 것이다.
이미지는 500, 500 크기의 상자 안에서 400, 400 크기로 표시되어 출력되고 있다. 즉, 양쪽 옆에 50씩의 마진이 있는 것이다.
1
2
3
4
5
6
7
8
9
10
11
12
13
14
15
16
17
18
class MyContainer extends StatelessWidget {
  const MyContainer({super.key});

  @override
  Widget build(BuildContext context) {
    return Container(
      width: 500,
      height: 500,
      decoration: BoxDecoration(
        border: Border.all(width: 5, color: Colors.indigo)
      ),
      margin: const EdgeInsets.all(15),
      padding: EdgeInsets.all(25),
      child: Image.asset('images/1.png',
          width: 400, height: 400),
    );
  }
}
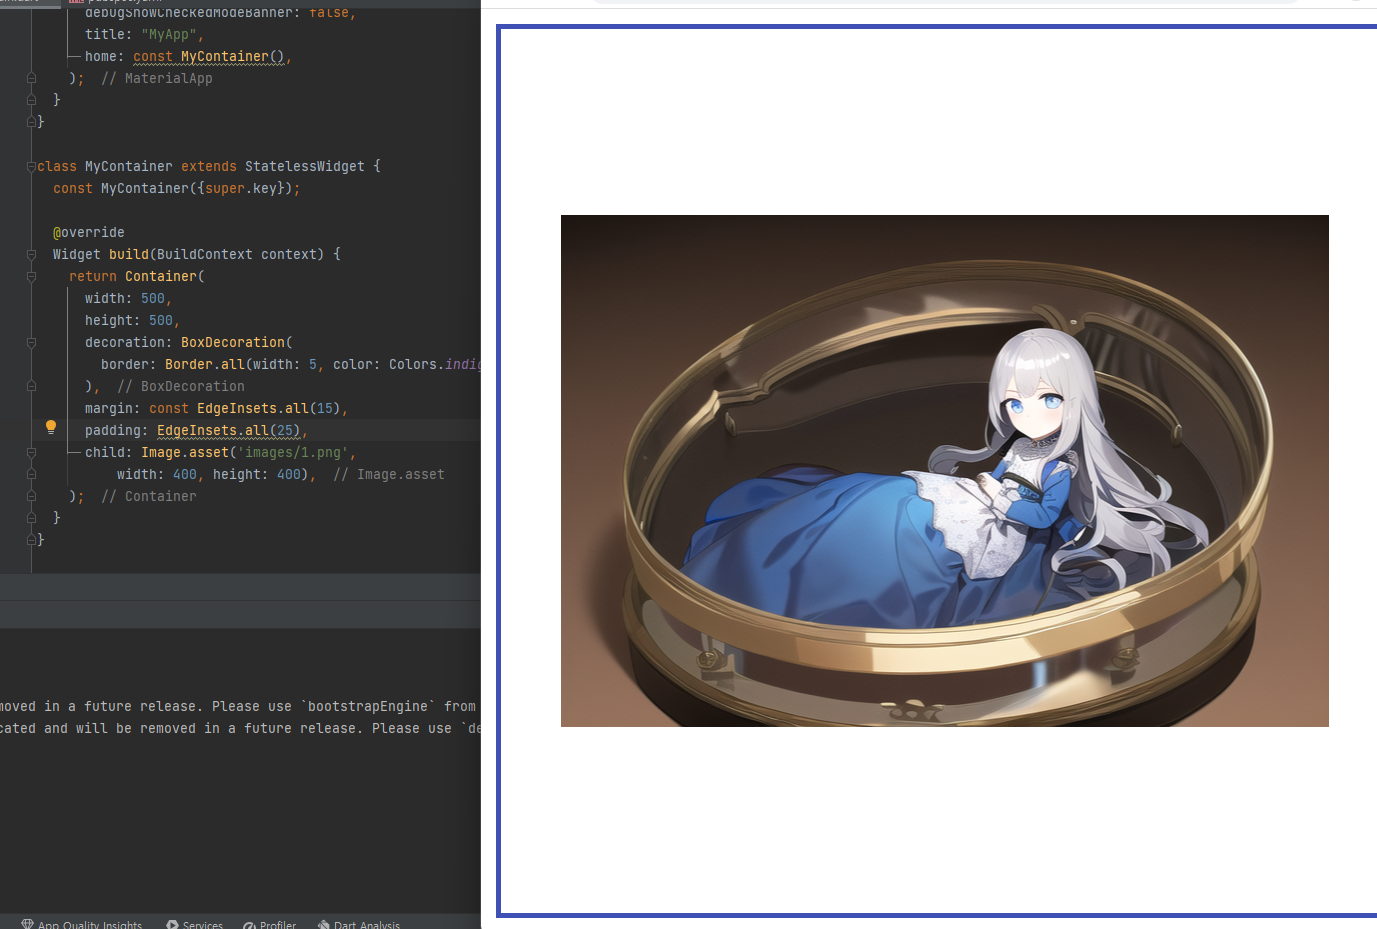
decoration을 통해 박스에 꾸미기를 넣어보았다.
border는 외곽선을 설정할 수 있다. borderRadius는 외곽선의 모서리 부분에 곡선을 설정할 수 있다.
margin은 외곽선의 바깥쪽, padding은 외곽선의 안쪽에 여백을 말한다.
1
2
3
4
5
6
7
8
9
10
11
12
13
14
15
16
17
18
19
20
21
22
class MyContainer extends StatelessWidget {
  const MyContainer({super.key});

  @override
  Widget build(BuildContext context) {
    return Container(
      width: 500,
      height: 500,
      decoration: const BoxDecoration(
        gradient: LinearGradient(
          begin: Alignment.topLeft,
          end: Alignment.bottomRight,
          colors: [
            Colors.black12, Colors.white30
          ]
        )
      ),
      child: Image.asset('images/1.png',
          width: 400, height: 400),
    );
  }
}
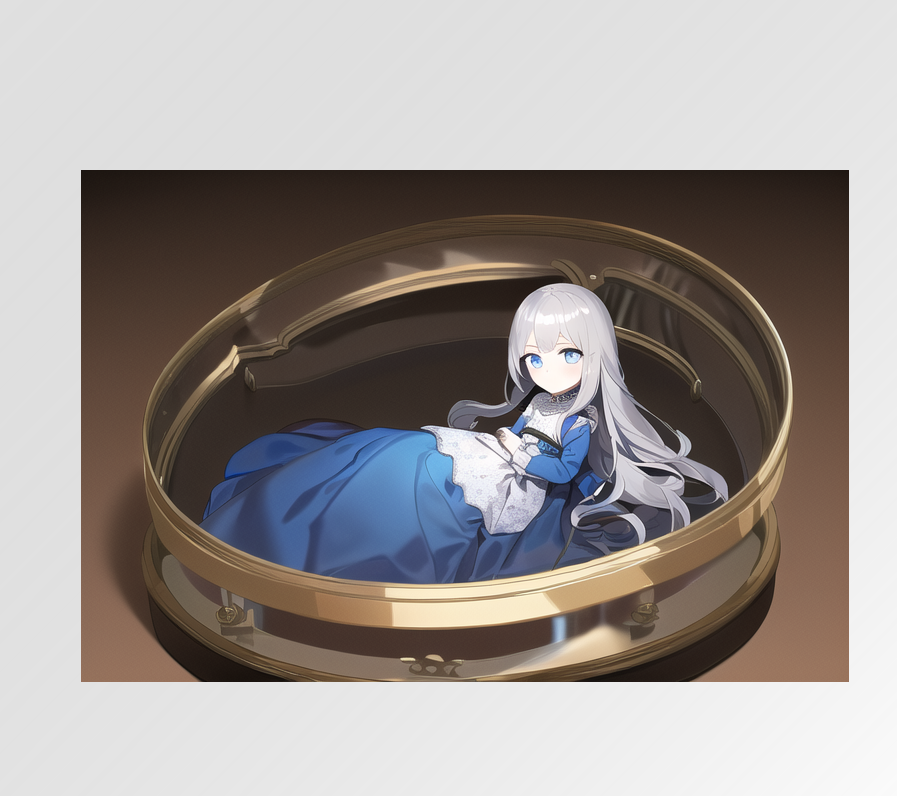
간단한 gradient를 통해 멋스러움을 부각시킬 수도 있다.
LinearGradient는 3가지 요소를 받는다. begin은 시작 부분 위치, end는 끝부분 위치다.
colors는 리스트로 두 개의 색깔을 받는다. 첫번째로 시작 부분 색깔, 두번째로 끝부분 색깔이다.