본 포스팅은 이 책을 많이 참고했다. !https://www.yes24.com/Product/Goods/99029275
앞선 글에서 코드를 똑같이 사용할 것이다.
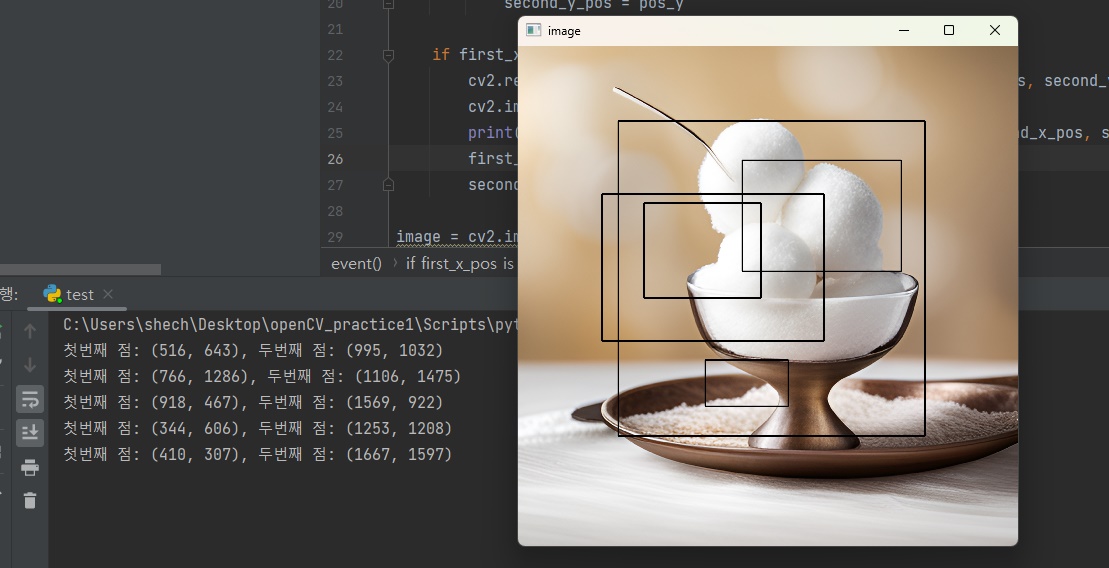
이번에는 사각형을 그려보자. 사각형 부분만 바꾸면 된다. 수정되는 부분에 주석을 달아두었다.
1
2
3
4
5
6
7
8
9
10
11
12
13
14
15
16
17
18
19
20
21
22
23
24
25
26
27
28
29
30
31
32
33
34
import cv2

first_x_pos, first_y_pos = None, None
second_x_pos, second_y_pos = None, None


def event(event, pos_x, pos_y, flags, param):
    global first_x_pos, first_y_pos, second_x_pos, second_y_pos

    if event == cv2.EVENT_LBUTTONDOWN:
        if first_x_pos is not None and second_x_pos is not None:
            first_x_pos, first_y_pos = None, None
            second_x_pos, second_y_pos = None, None

        if first_x_pos is None:
            first_x_pos = pos_x
            first_y_pos = pos_y
        else:
            second_x_pos = pos_x
            second_y_pos = pos_y

    if first_x_pos is not None and second_x_pos is not None:
        cv2.rectangle(image, (first_x_pos, first_y_pos), (second_x_pos, second_y_pos), (0, 0, 0), 3, cv2.LINE_AA) # 이 부분만 수정
        cv2.imshow('image', image)
        print(f'첫번째 점: {first_x_pos, first_y_pos}, 두번째 점: {second_x_pos, second_y_pos}')
        first_x_pos, first_y_pos = None, None
        second_x_pos, second_y_pos = None, None

image = cv2.imread('1.png')
cv2.namedWindow('image', flags=cv2.WINDOW_FREERATIO)
cv2.resizeWindow('image', 500, 500)
cv2.imshow('image', image)
cv2.setMouseCallback('image', event, param=None)
cv2.waitKey(0)
사각형 역시 직선과 같은 매커니즘이다. 이미지 지정, 좌표1, 좌표2, 색깔, 두께, 선형타입이다. 여기서 하나가 추가되는데 shift다. 모서리 좌표의 비트값을 할당한다.
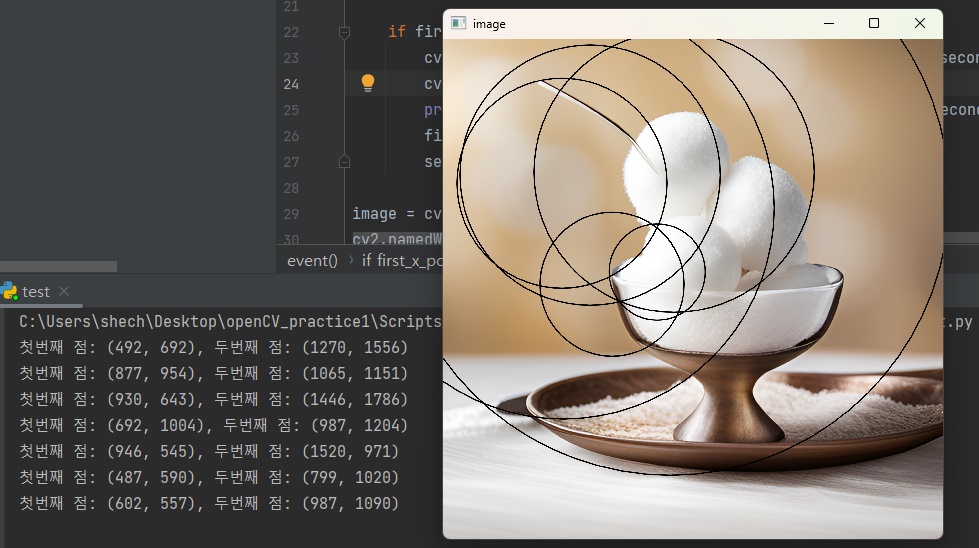
원은 조금 다른 매커니즘이다. 이미지, 원의 중심(center), 반지름(radius), 색깔, 두께, 선형 타입, 그리고 시프트다. 시프트는 중심점과 반지름의 비트 값을 할당한다.
1
cv2.circle(image, (x_pos, y_pos), 50, (0, 0, 0), 3, cv2.LINE_AA)
위 코드는 반지름이 50인 원을 그린다. 만약 상술한 사각형의 코드를 그대로 써서, 원의 크기를 지정하고 싶다면 이렇게 해보는 것은 어떨까?
1
cv2.circle(image, (first_x_pos, first_y_pos), (max(second_x_pos - first_x_pos, second_y_pos - first_y_pos)), (0, 0, 0), 3, cv2.LINE_AA) # 이 부분만 수정
방법은 간단하다. 두번째 좌표에서 첫 좌표를 빼면 그만큼의 원의 반지름이 나온다. 그런데 결괏값이 2개가 된다. 따라서 이 2개 중에서 최댓값을 찾아 넣어주면 된다. 최댓값은 max를 통해 간단히 찾을 수 있다.
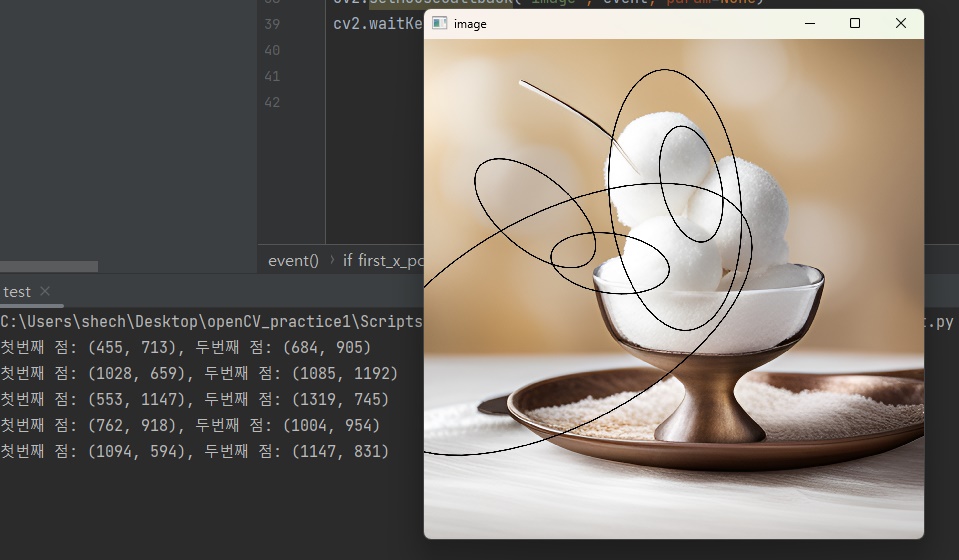
호를 그려보자. 호는 쉽게 말하면 타원이다. 호는 조금 더 복잡한 매커니즘을 가진다. 이미지, 원의 중심(center), 장축과 단축(axes), 각도(angle), 시작각도(startAngle), 도착각도(endAngle), 색깔, 두께, 선형타입, 시프트를 넣어주면 된다.
1
2
3
4
5
6
7
8
9
10
11
12
13
14
15
16
17
18
19
20
21
22
23
24
25
26
27
28
29
30
31
32
33
34
35
36
37
38
39
 import math

import cv2

first_x_pos, first_y_pos = None, None
second_x_pos, second_y_pos = None, None


def event(event, pos_x, pos_y, flags, param):
    global first_x_pos, first_y_pos, second_x_pos, second_y_pos

    if event == cv2.EVENT_LBUTTONDOWN:
        if first_x_pos is not None and second_x_pos is not None:
            first_x_pos, first_y_pos = None, None
            second_x_pos, second_y_pos = None, None

        if first_x_pos is None:
            first_x_pos = pos_x
            first_y_pos = pos_y
        else:
            second_x_pos = pos_x
            second_y_pos = pos_y
            major_axis = int(math.sqrt((second_x_pos - first_x_pos) ** 2 + (second_y_pos - first_y_pos) ** 2))
            minor_axis = int(major_axis * 0.5)
            angle = math.degrees(math.atan2(second_y_pos - first_y_pos, second_x_pos - first_x_pos))

    if first_x_pos is not None and second_x_pos is not None:
        cv2.ellipse(image, (first_x_pos, first_y_pos), (major_axis, minor_axis), angle, 0, 360, (0, 0, 0), 3, cv2.LINE_AA)
        cv2.imshow('image', image)
        print(f'첫번째 점: {first_x_pos, first_y_pos}, 두번째 점: {second_x_pos, second_y_pos}')
        first_x_pos, first_y_pos = None, None
        second_x_pos, second_y_pos = None, None

image = cv2.imread('1.png')
cv2.namedWindow('image', flags=cv2.WINDOW_FREERATIO)
cv2.resizeWindow('image', 500, 500)
cv2.imshow('image', image)
cv2.setMouseCallback('image', event, param=None)
cv2.waitKey(0)
major_axis(장축)와 minor_axis(단축)를 구해야 한다. major_axis 구하는 방법: √((2번째 x축좌표 - 1번째 x축좌표)² + (2번째 y축좌표 - 1번째 y축좌표)²) 이 공식을 통해 두 지점의 거리를 구할 수 있다.
minor_axis를 구하는 방법은 사실 좀 더 복잡한데, 이번에는 그냥 간단하게 장축의 절반을 단축으로 정하자.
angle값은 굉장히 어려운데, 그냥 공식을 외워버리는 게 속이 편하다.
1
angle = math.degrees(math.atan2(second_y_pos - first_y_pos, second_x_pos - first_x_pos))
- 두 점을 향해 가는 선의 각도를 아크탄젠트 메소드(atan2)를 통해 라디안(radian) 값으로 계산한다.
- degrees함수를 통해 이 값을 도(degree) 값으로 변환한다.
1
cv2.ellipse(image, (first_x_pos, first_y_pos), (major_axis, minor_axis), angle, 0, 360, (0, 0, 0), 3, cv2.LINE_AA)
그렇게 해서 이와 같은 공식이 완성되는 것이다.